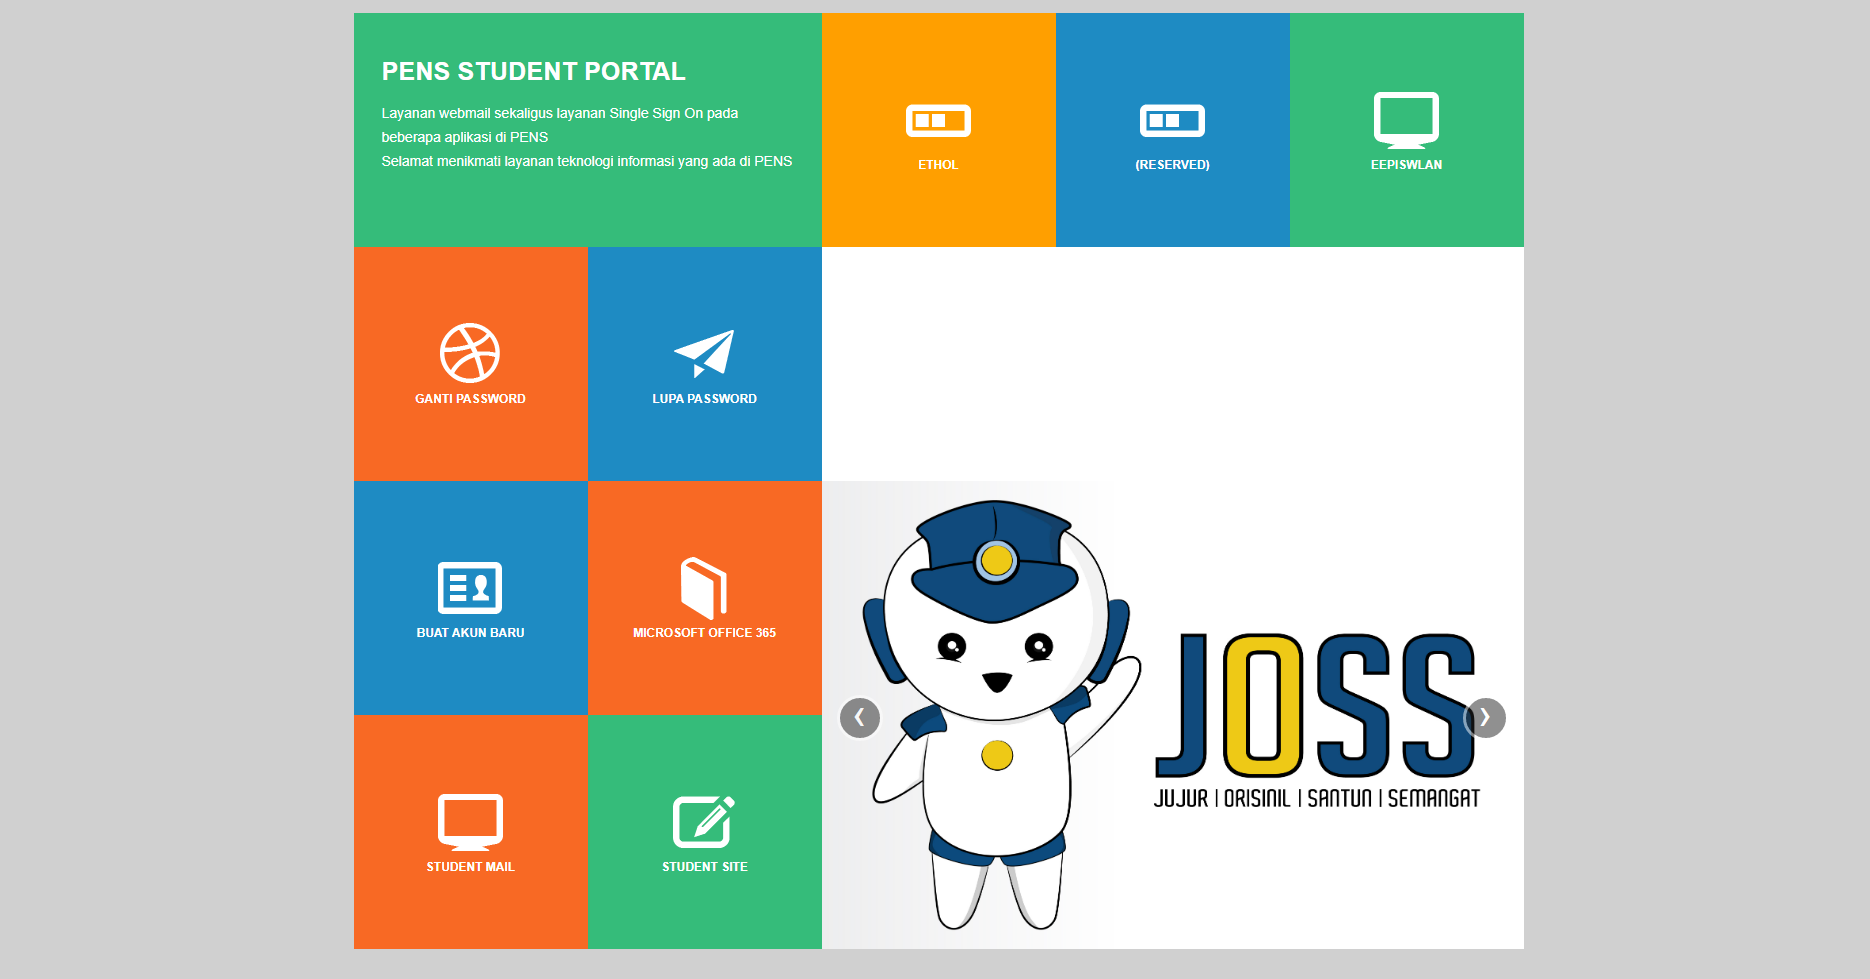
PENS Student Site
How to use the Student PENS site to create Blog
- Making a blog website display using html css, you can use a free blog template as a learning process.
- After that fill in what content you want to display later.
- After everything has been prepared, proceed to the hosting stage, namely opening the website https://student.pens.ac.id.
- Click on student sites.
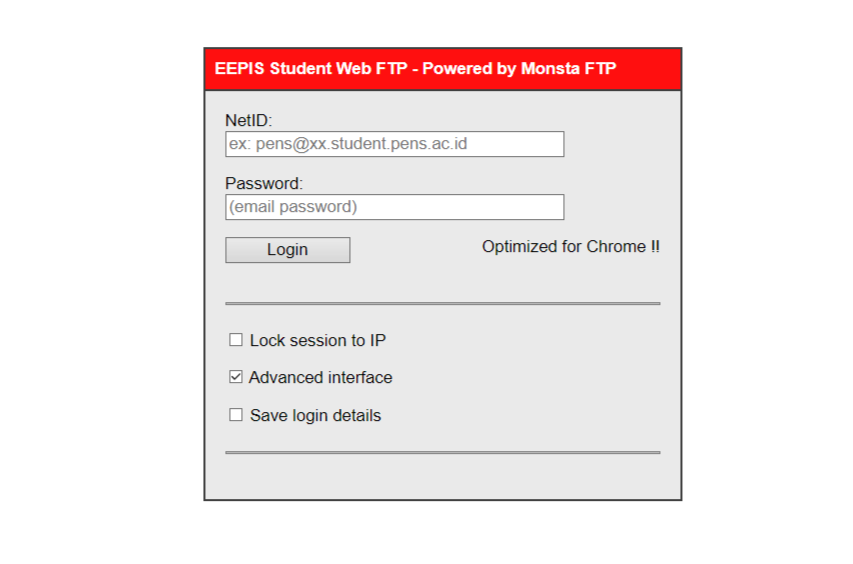
- Lalu masuk ke WebFTP ( http://web.student.pens.ac.id/) lalu login/daftar dan masukan NetID dan password.
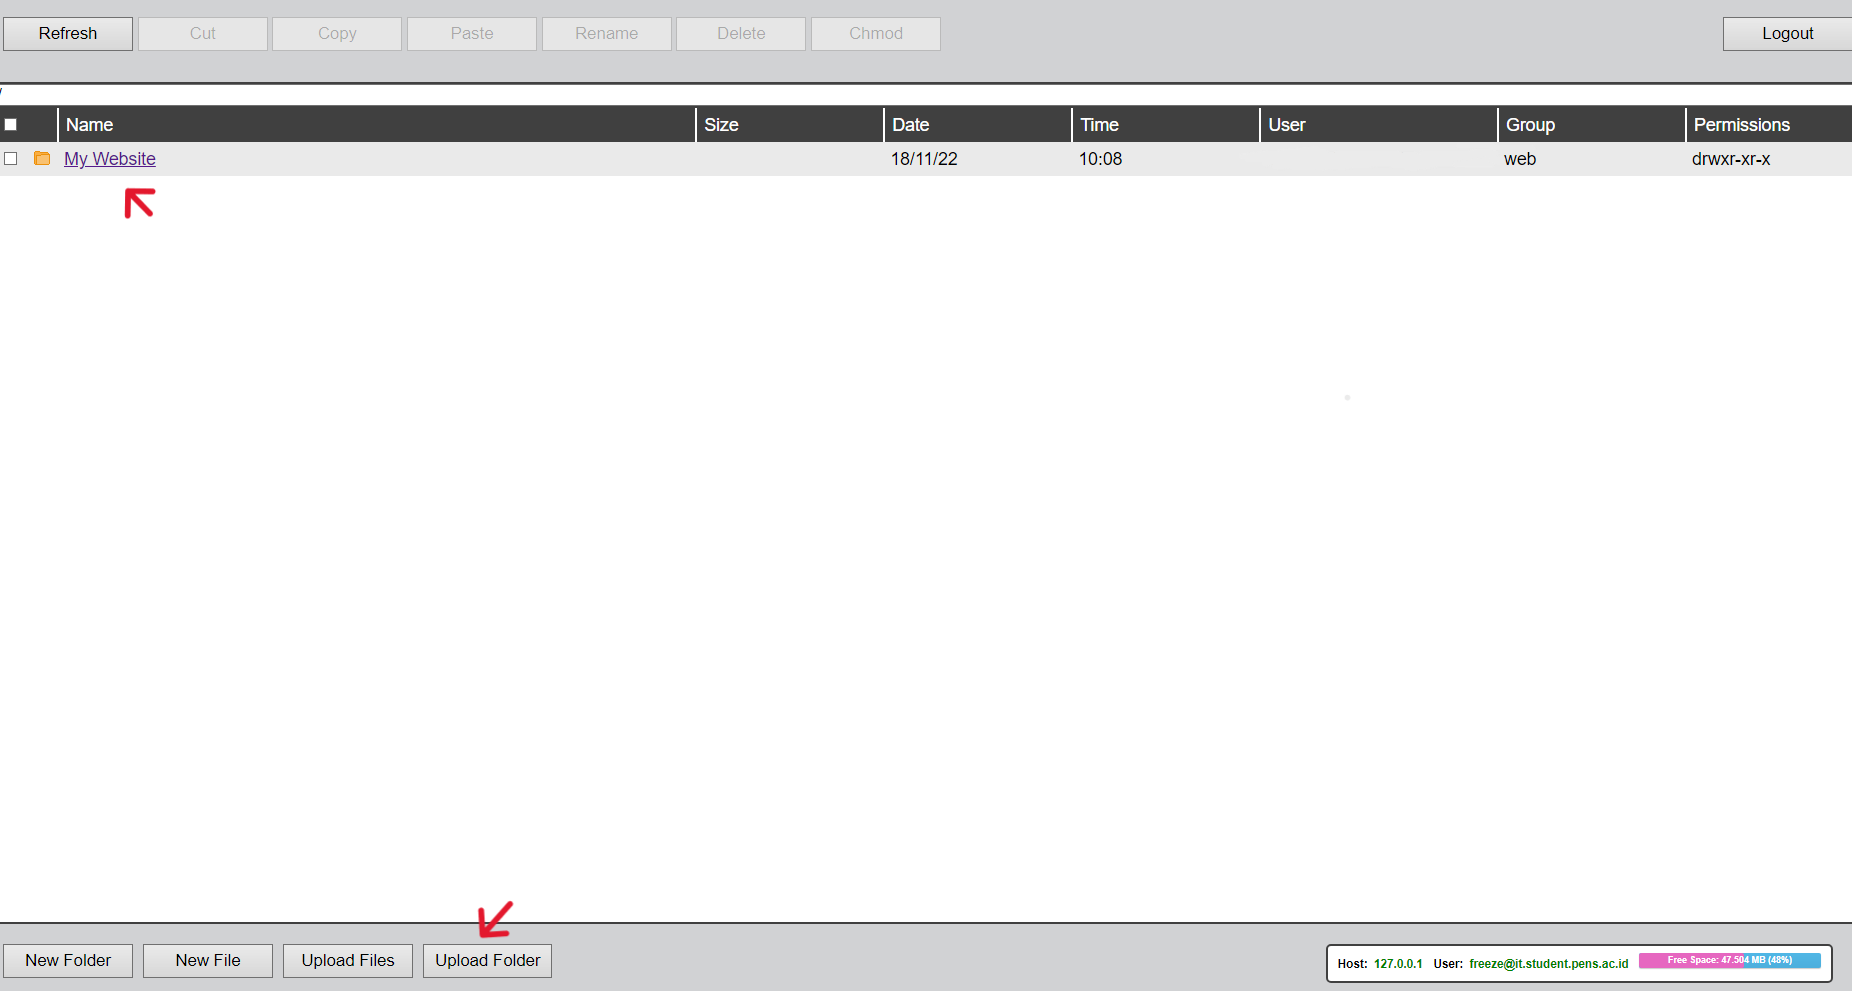
- Next, you will be directed to the main dashboard where you can upload various files from your learning with a storage capacity of only 100 MB.
- Create a new folder to store your blog website files. Enter the folder earlier then upload your website files/folders. note: make sure your main website file name is index.html so that it can be accessed later
- Enter the folder earlier then upload your website files/folders. note: make sure your main website file name is index.html so that it can be accessed later
- After all the processes have been completed, try to access it via the link (your NetID name). it.student.pens.ac.id for example: sulthaandaffa@it.student.pens.ac.id
- Then open the folder you created earlier.
- Congratulations you have created your own personal blog website.
Those are a the step to create a personal blog and host it through the EEPIS Campus UPT. I hope this tutorial will be useful for all of you later. That's all from my explanation. Thank you!